Bulk Work Item Management: the Dynamic Duo of Azure DevOps and Microsoft Excel

Alexandra Krajer

When using Azure DevOps, it is often a challenge to modify the status of multiple Work Items in large projects at the same time. This can significantly complicate admin tasks and make the project management process time consuming.
However, Azure DevOps’ bulk editing feature can provide a solution to this problem. It allows you to edit the state of multiple Work Items at once, either tagging them or moving them between iterations.
However, if you need to create a more complex, bulk work item, a Microsoft Excel add-in can be of great help. This supports adding Work Items, updating existing Work Items, adding links or attachments to multiple Work Items and much more.
By using these, consultants and project teams can respond quickly and efficiently to changing requirements or needs related to current project processes. This can result in improved project efficiency and reduced administrative workload. The ability to manage work items in bulk can result in significant time and resource savings throughout the project lifecycle.
So how can we use this solution?
There are a few prerequisites that are necessary to use this operation:
- Microsoft Excel 2010 or later must be installed
- You need to install Azure DevOps Office Integration 2019 (Available for free at https://visualstudio.microsoft.com/downloads/?ref=techielass.com#other-family)
- You must be a member of the project you want to edit.
- Must be allowed to view Work Items and edit WorkItems in the project
- If you want to add or edit Work Items, you must have stakeholder access
If all the necessary conditions have been met, the following steps can be followed to modify and create work items en masse:
- Open Excel
- Click on the Team tab in the top menu (this should appear automatically after installing the extension. If it is not available, you can uncheck it in the customize menu bar to make it visible).
To be able to make bulk changes, we need to connect the Excel plugin to the Azure DevOps environment. This requires the following steps:
- Click on New List
- This will activate a pop-up window that will ask us to connect to an Azure DevOps Server.
- Click on the Servers button
- Click on the Add button
- Enter the URL of the Azure DevOps server
- Then click OK
- You will be prompted to authenticate the Azure DevOps server
- Then click Close to connect Excel to the DevOps server.A beépülő modul mostantól információkat kap a csapatprojektekről.
- Here we will be able to select the project within which we want to make the changes
10. You need to select which Work Items you want to download from the Azure DevOps tables to Excel (the connection will always pull the items from a query created in DevOps, so it is a prerequisite that there is a view, a list created under the project).
11. Now we can start making the necessary changes. When you are done, click on the Publish button under the Team tab. This will send the completed changes to the server where Azure DevOps will do its job.
If you refresh the Azure DevOps view in your browser, you will see the changes you have made.
Bulk editing Azure DevOps items using Excel is a significant time and resource saver for everyone. For projects larger than Visual Labs, this feature is regularly used by our project managers and consultants, and it greatly helps us to operate more efficiently.
Blog posts
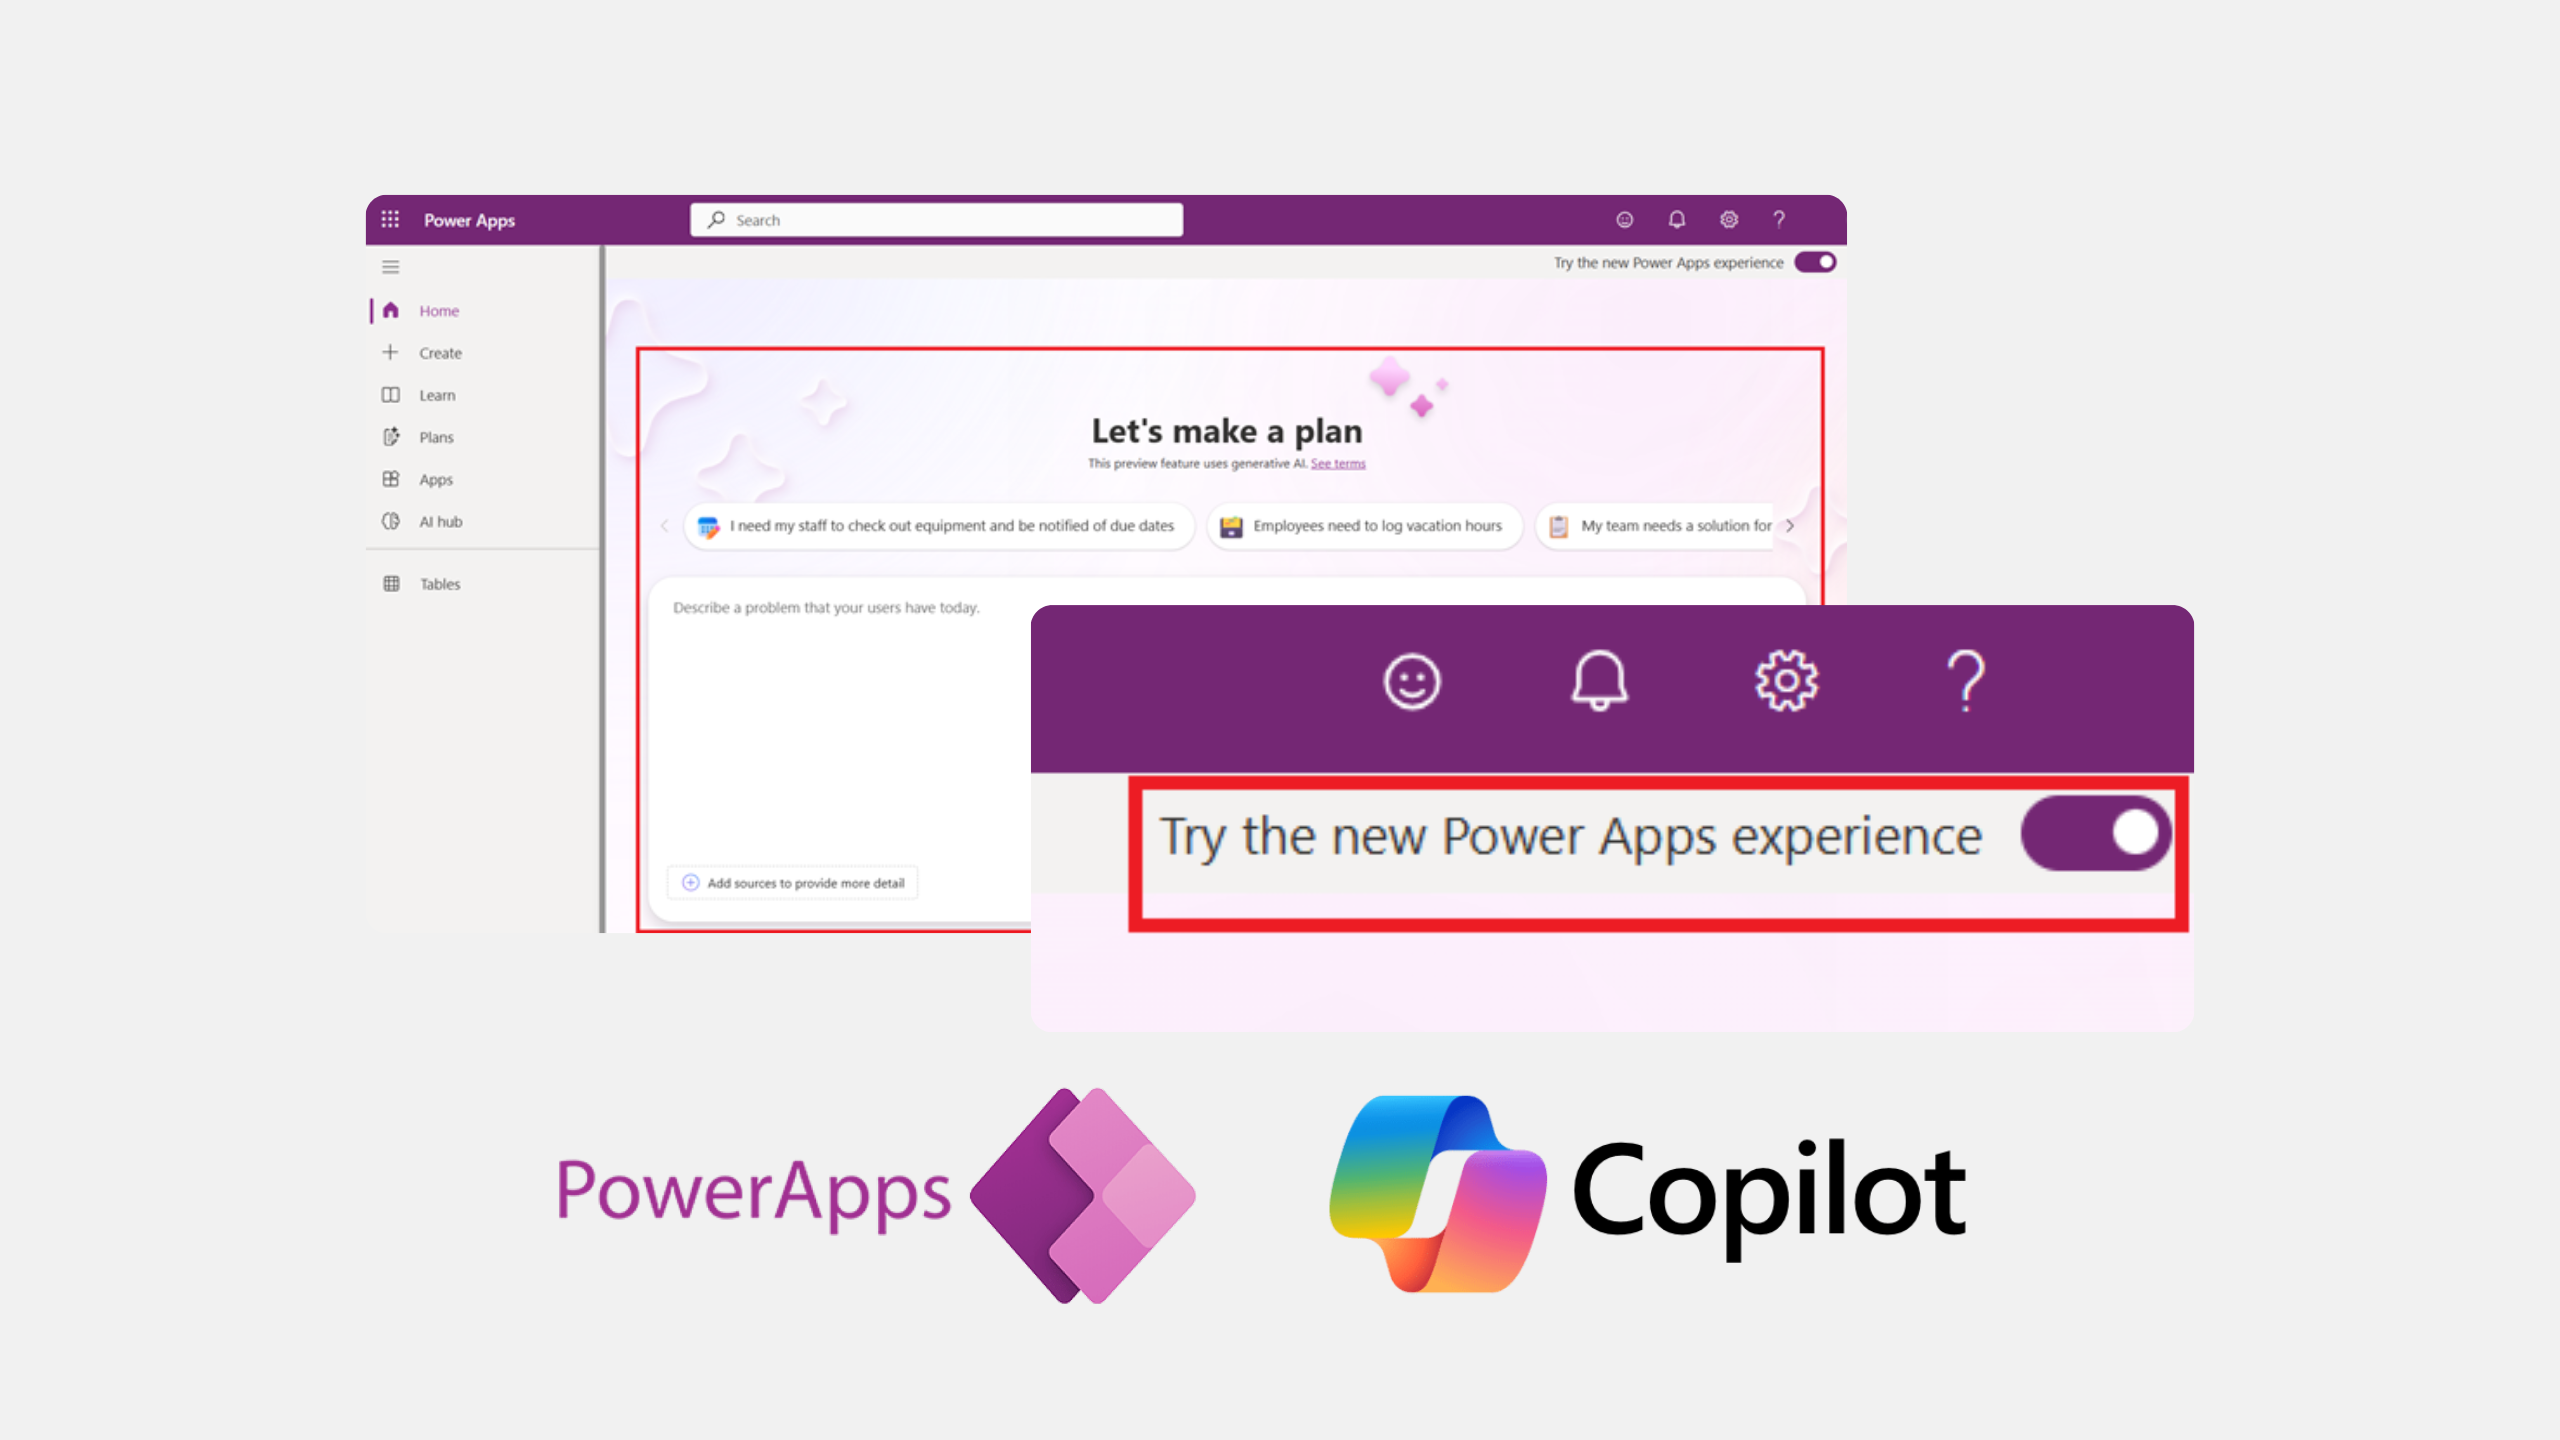
There's a new way to turn business ideas into app frameworks
Heading 1
Heading 2
Heading 3
Heading 4
Heading 5
Heading 6
Lorem ipsum dolor sit amet, consectetur adipiscing elit, sed do eiusmod tempor incididunt ut labore et dolore magna aliqua. Ut enim ad minim veniam, quis nostrud exercitation ullamco laboris nisi ut aliquip ex ea commodo consequat. Duis aute irure dolor in reprehenderit in voluptate velit esse cillum dolore eu fugiat nulla pariatur.
Block quote
Ordered list
- Item 1
- Item 2
- Item 3
Unordered list
- Item A
- Item B
- Item C
Bold text
Emphasis
Superscript
Subscript

How to Set Your Local Currency as the Default in Dynamics 365
Heading 1
Heading 2
Heading 3
Heading 4
Heading 5
Heading 6
Lorem ipsum dolor sit amet, consectetur adipiscing elit, sed do eiusmod tempor incididunt ut labore et dolore magna aliqua. Ut enim ad minim veniam, quis nostrud exercitation ullamco laboris nisi ut aliquip ex ea commodo consequat. Duis aute irure dolor in reprehenderit in voluptate velit esse cillum dolore eu fugiat nulla pariatur.
Block quote
Ordered list
- Item 1
- Item 2
- Item 3
Unordered list
- Item A
- Item B
- Item C
Bold text
Emphasis
Superscript
Subscript
Ready to talk about your use cases?
Request your free audit by filling out this form. Our team will get back to you to discuss how we can support you.
